Virtual private server solutions provide secure hosting environments for users to configure and utilize as they prefer. These virtual environments are isolated, allowing the user to benefit from greater performance and more reliability than they would have using shared hosting. In addition, with the ability to utilize resources as needed without sharing the server, many users feel that VPS solutions provide them with more control and freedom over their server use.
VPS solutions are commonly provided as a service by internet hosting providers, like OVHcloud. They provide users with a VPS in the form of their product Elite, with predefined resources that work with the users’ operating systems to run their applications. Of course, once you purchase your VPS through OVHcloud, you will want to configure it appropriately to set your operations up for success.
SEE: Hiring Kit: Cloud Engineer (TechRepublic Premium)
Requirements to get started
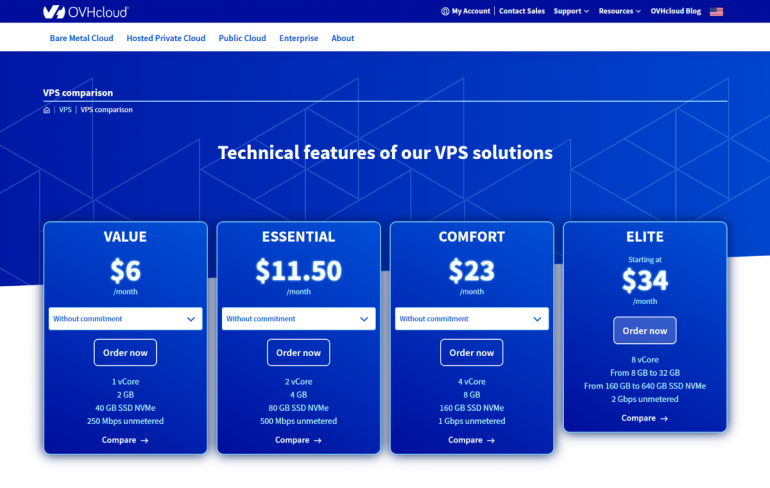
To begin, you’ll need to get an OVHcloud account and purchase a VPS by selecting one from their array of VPS solutions. For this article, we will be discussing the OVHcloud Elite VPS option. Starting at $34 per month, the solution contains an 8 vCore, anywhere from 8GB to 32GB of memory, anywhere from 160GB to 640GB of storage via an SSD NVMe, and 2Gbps unmetered bandwidth.
Configuring your VPS service
Of course, you’ll need to configure your Elite VPS service to meet your server needs. You’ll want to start by selecting Order Now under the Elite product option, which will bring you to a page titled Configure your Virtual Private Server (Figure A).
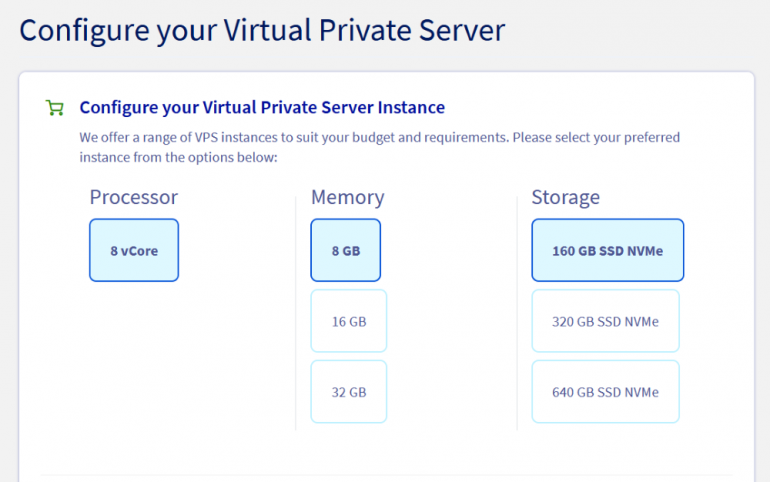
On this page, you will first be prompted to Configure your Virtual Private Server Instance by choosing from the range of VPS instances to suit your budget and requirements. Select your preferred instance from Processor, Memory and Storage options (Figure B).
Figure B
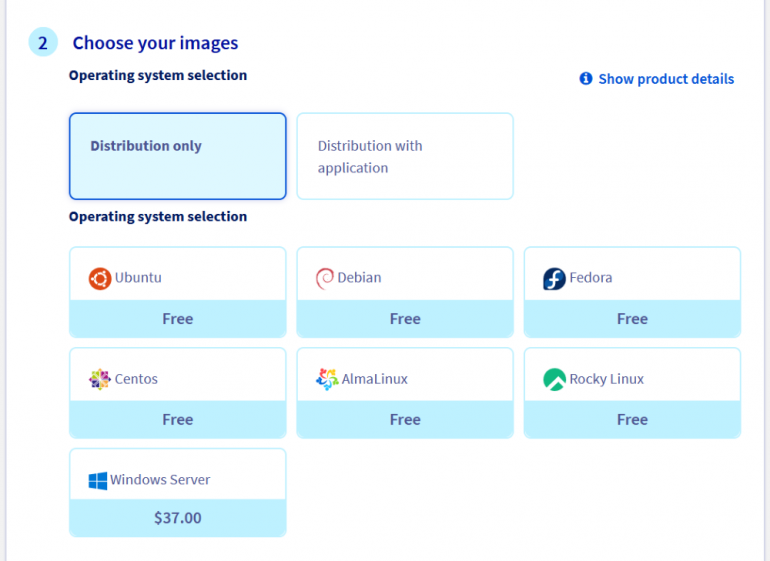
Next, you’ll need to choose your images by selecting between an operating system with distribution only or distribution with the application. Depending on your selection, you will choose between the provided operating system options (Figure C).
Figure C
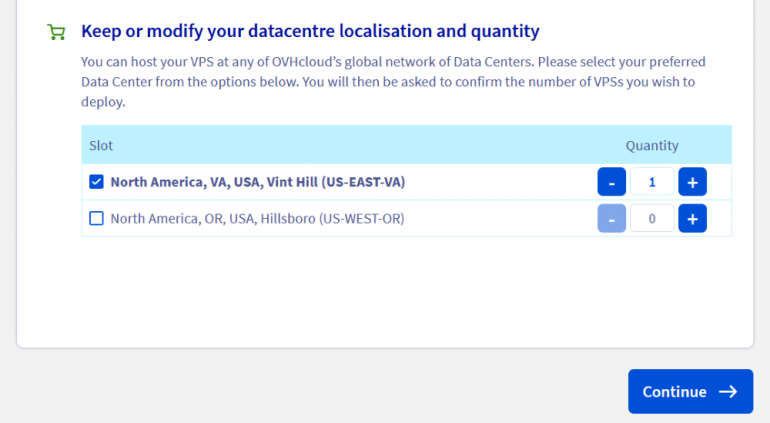
After this, you must indicate whether you wish to keep or modify your data center localization and quantity. In this section, you can choose where you’d like to host your VPS based on the options of OVHcloud’s global network of data centers listed below. Then, confirm the number of VPSs you wish to deploy and select Continue at the bottom of the page (Figure D).
Figure D
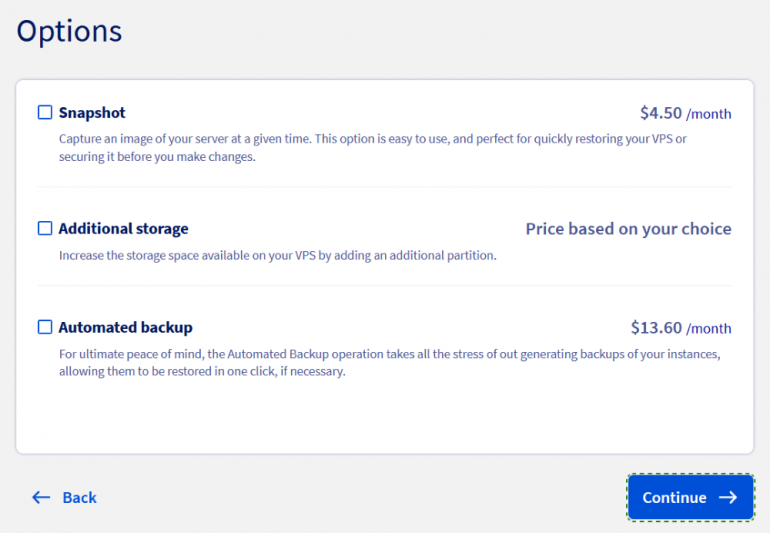
The next page will provide options for additional features that you may add to your service. You can select between Snapshot, Additional Storage and Automated Backup. If you choose Additional Storage, you will also need to provide the amount of storage you’d like per month via the dropdown list. Once this is done, select Continue at the bottom of the page (Figure E).
Figure E
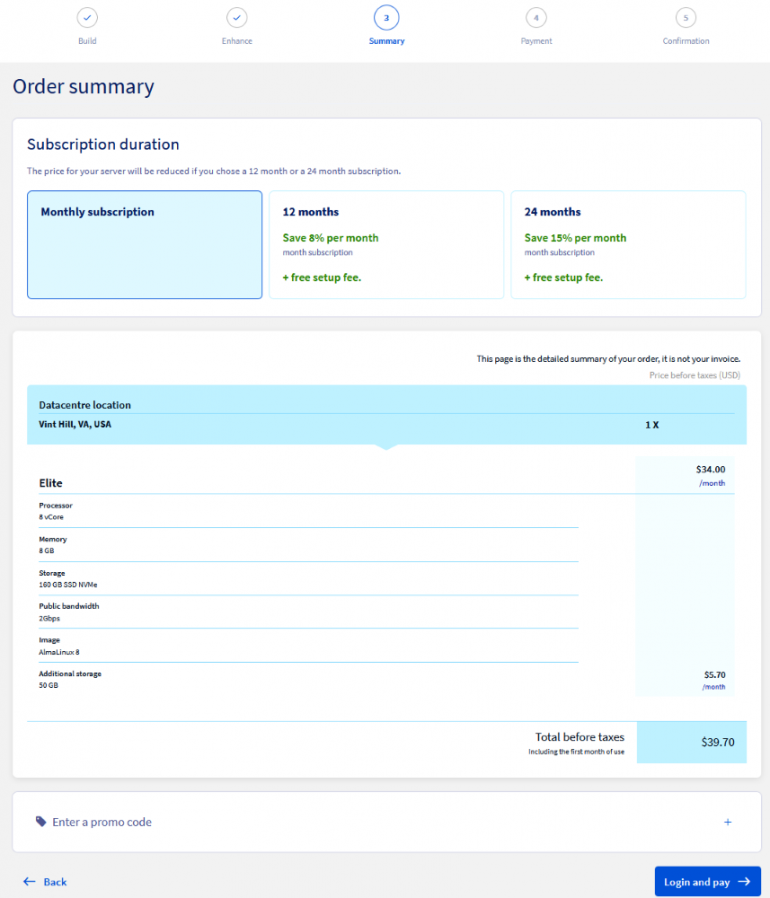
The next page, titled Order Summary, will let you choose between three different payment options for your Elite service. You can choose between a monthly, 12-month or 12-month subscription. This page also provides a detailed summary of your order and an area to supply a promo code if you have one. After you finish this page, select the Login and pay option to continue (Figure F).
Figure F
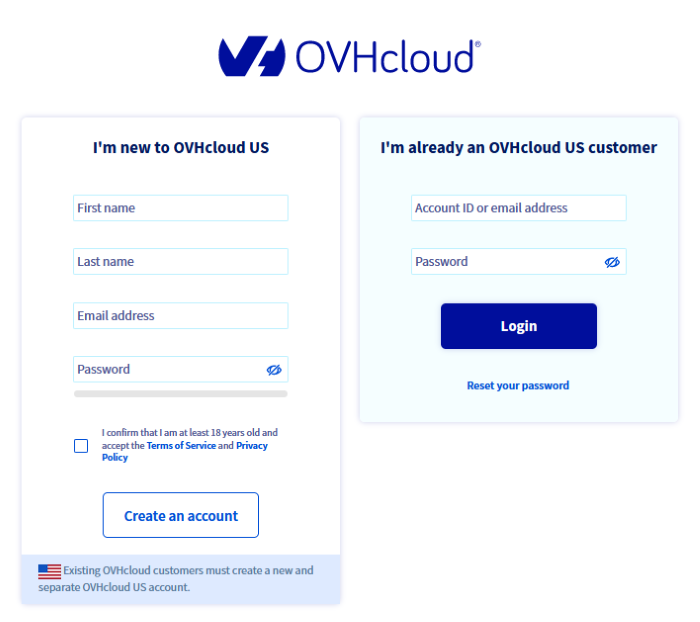
After this, you will need to complete the Payment and Confirmation pages, and you’ll be on your way. Don’t worry if you forgot to create an OVHcloud account before now, as you’ll have the option to create one before you check out (Figure G).
Figure G
Once you have completed these steps, you can install your solution. Then you should receive an email notifying you that your server is ready, and the email will also provide your login credentials.
How to begin using your VPS
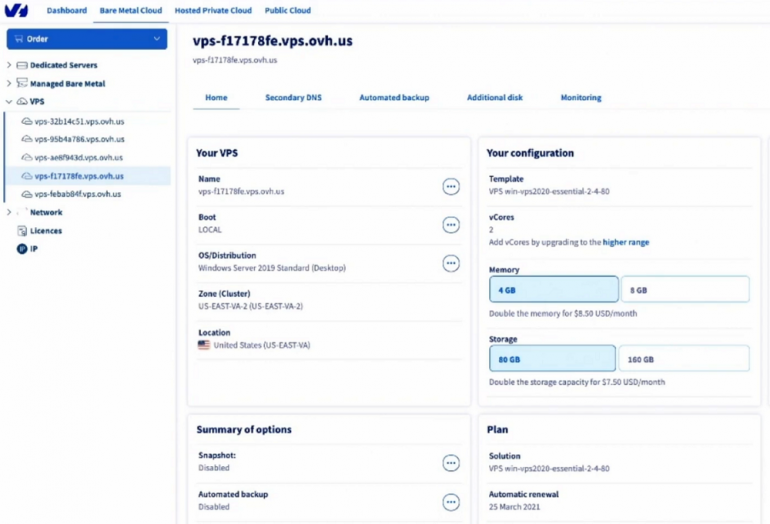
Go onto the OVHcloud website and log in to the OVHcloud Control Panel. When you’re logged in, go to the Bare Metal Cloud section and select your VPS server from the Virtual Private Servers list. This will bring you to a dashboard with information about your VPS solution (Figure H).
Figure H
It is important to know that your instructions for configuring your VPS may differ depending on whether you are using the current OVHcloud VPS range or the older VPS range. For example, the OVHcloud Elite VPS option falls within the current VPS range.
When installing your VPS from the Control Panel, you will be prompted to create a user with elevated permissions. Then, you should receive the aforementioned email containing the login credentials. Once you have this, you can connect to your VPS with the username and password provided (Figure I) and access your server through a command-line terminal or third-party solution on Windows. The Elite VPS works with Linux, MACm or third-party software on Windows like PuTTy.
Figure I
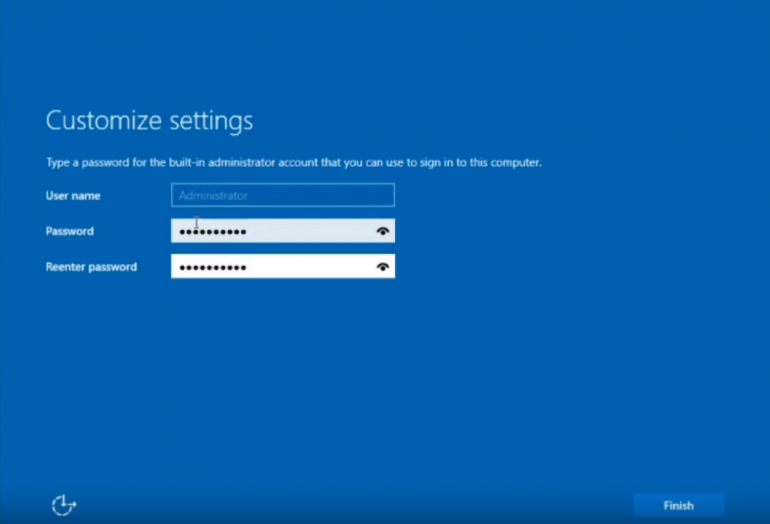
Using the command-line terminal or third-party solution of your choosing, open the program and enter the server name or its IPv4 address as prompted by the application. The system will then have you provide your username and password and continue with the command-line interface.
To log in to your VPS with the information provided in the email, type the following command:
ssh username@IPv4_of_your_VPS
This will enable you to log in as a pseudo user with elevated privileges, configure your VPS and perform administrative tasks. Below is the command you can enter to change your admin password, which is recommended:
To change your password:
~$ sudo passwd username
New password:
Retype new password:
passwd: password updated successfully
Then, switch to the root user and change your admin password:
~$ sudo su -
~# passwd
New password:
Retype new password:
passwd: password updated successfully
